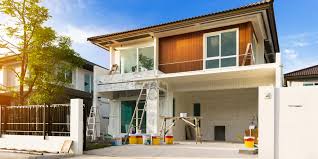
Interior Painters on Thumbtack cost
The national average cost to paint a single room is $917. That price goes up to $1,223 for two rooms, $1,834 for three rooms and $2,446 for four rooms.
Prices depend on a variety of factors, including the size of your room, the type of paint, primer or finish you choose, how many coats you need, your ceiling height and the cost of hiring painters in your area.
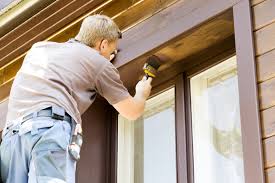
How much do professional painters charge an hour?
The national average cost for professional interior painters is $45 per hour. However, average prices can range from $27 to $85 per hour depending on the painting company or contractor.
If you feel like you haven’t been quoted a fair price, ask your painter to break down the numbers. Some painting companies include charges for things you wouldn’t ordinarily think about, such as materials, gas for traveling, and overhead expenses like utilities and crew benefits.
How to estimate the cost of painting a room
It’s helpful to ask yourself the following questions when you’re estimating how much you’ll pay for interior painting services.
How many interior rooms need to be painted? Your prices will go up if you need more rooms painted. However, the cost of painting two rooms is generally not double the cost of one room. You can spread out overhead expenses — an extra room just adds more square feet, some extra time and more gallons of paint.
How high is my ceiling? The higher the ceiling, the higher the walls — and that means more time and more paint.
How do painters set their prices? Ask the pro whether they charge per room, per square foot, per hour, per project or if they use a different cost unit.
How large is my room? Your room’s size or total square footage may have a large impact on your overall price. For an accurate quote, have measurements of your room ready when you contact a professional.
HOW TO PAINT RV WALLS
Use these RV interior painting ideas and tips to learn exactly how to paint RV walls. We’re breaking down the exact steps we used to paint our RV walls, cabinets and ceiling to give our camper a brand new look! This is a RV remodel project you don’t want to miss.
Paint is one of the easiest (and cheapest) ways to transform any space. That’s especially true when it comes to remodeling an RV. Painting the interior of an RV can be intimidating, but don’t worry, you can handle the project!
Prep The Walls For Paint
Whether you’ve completely gutted your RV or just wanting to give it a fresh paint job, you’ve probably got some imperfections in the walls.
Sanding The Walls
While sanding the walls of an RV, you want to be careful not to destroy the outer layer of the RV wall panels. This outer layer seems kind of like wallpaper, but it’s actually usually made from vinyl.
Wash the Walls with TSP
Once you’ve finished sanding, and filling all the holes, it’s time to clean the walls to prepare for paint. While it’s always a good idea to wash down an area before painting, it’s extra important to do so before painting RV walls and ceilings. With all the hauling, camping, and in our case, demo-ing, the interior of RVs can get dirty quick.
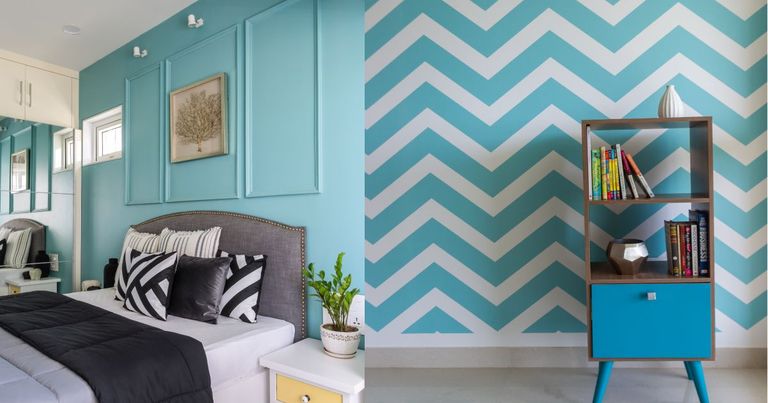
Wallpaper vs Paint: Insider Info You Need to Know
Looking for a way to breathe new life into your lacklustre walls? Deciding on the right type of wall treatment is no easy task, given the huge number of products available today. And homeowners are mostly confused between two popular options – paint vs wallpaper
Variety in colors and finishes is a major plus point if you are looking to create a unique look for your home. Thankfully, there is no dearth of variety in both wallpaper and paint.
Paint is available in literally every color under the sun – you can mix and match to your heart’s content. When applied in combination with the hundreds of texturing techniques in use today, paint can create stunning effects that completely transform the look of any home. You can also choose from a variety of finishes such as matte, satin, semi-gloss and glossy.
Between the two, paint is the easier and less fussy option for walls. A day or two will suffice for a paint job for a standard size room. Painted walls are also very accommodating to incoming, newer coats of paint of the same hue. In most cases, if the surface isn’t too worn out, a new coat of paint can be applied on to the older one.
Good quality paint on walls, when finished well, can last you up to five years. That said, paint tends to fade and flake in areas that have high usage and exposure to sunlight. Hence, retouching will be necessary 3 years or so – maybe even sooner for paints in lighter colours.
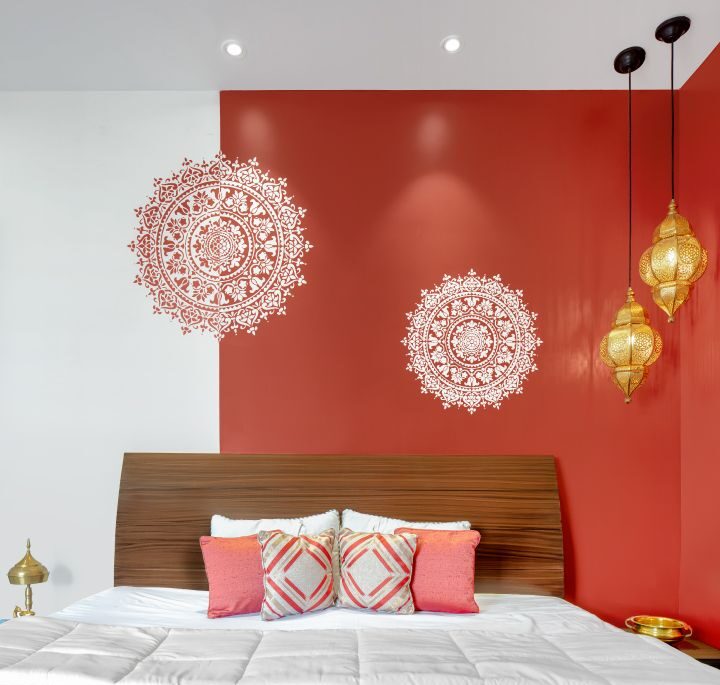
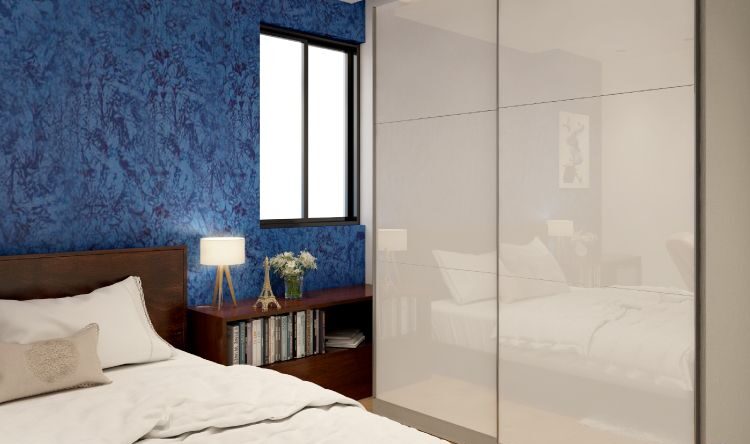
Best Paint Colors For Your Living Room
Your living room is probably the most popular room in the house, so decorating it to make sure it’s a place that you actually look forward to spending time in a must. And that brings us to color, since coming up with a palette will likely drive the design process and set the mood for years to come. Whether you want something bold and bright, neutral, or moody, we’ve got tons of living room paint color ideas for your to get inspired by ahead. All you have to do is put on your overalls and grab a roller
Mint Green
This fresh color makes a room feel like a tropical oasis. In this room, where the paint stretches all the way up to the high rafters in this living room, the hue changes depending on the way the light hits it, shifting between sharp mint green and soft sea foam green.
Crisp White
A crisp, matte white is totally timeless. Pure White is there for you when you just can’t with trends anymore (see ya never, millennial pink).
Ocean Blue
Not only is this deep blue paint a lovely and bold color for the living room, but the high-gloss finish in this room by Kate Reid also adds some extra punch. It’s basically the color of wanderlust right in your own home. It’ll make you feel like you’re on vacation, even if the closest you’re getting to an island escape is your laptop’s screensaver (sigh)
Dark Gray
The mix of cool and warm tones in this designer living room strikes the perfect balance. Even though it’s subtle, the added texture you get from linen helps tone down the cool sophistication of the gray wall. And in a bold, colorful coral shade, it also cheers things up.
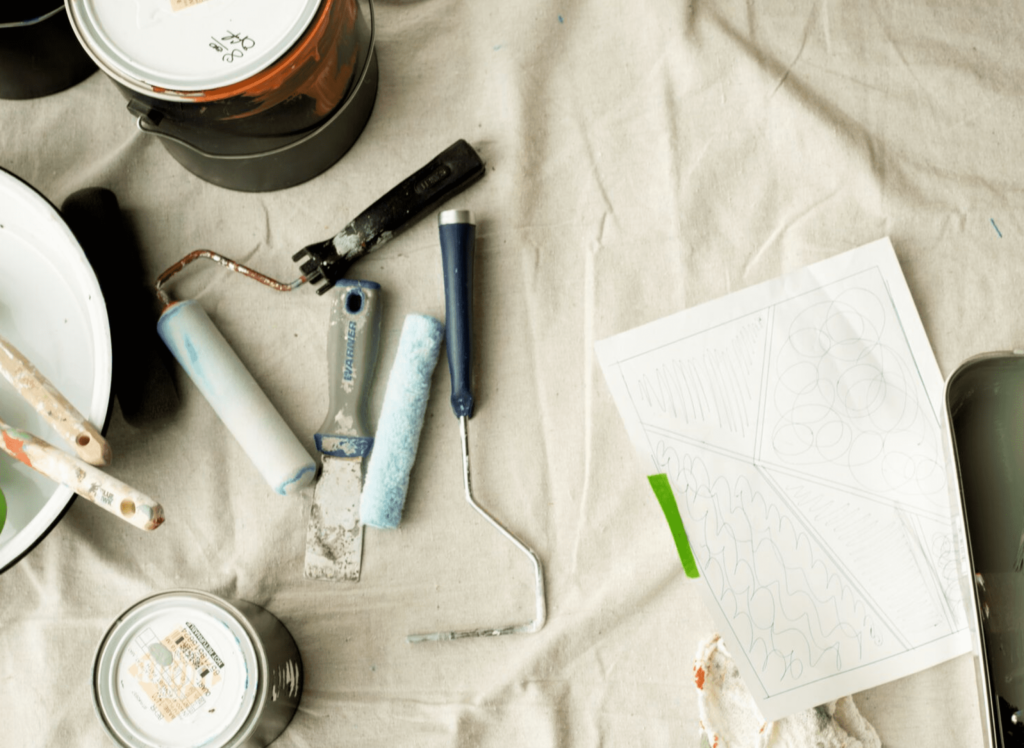
Painting Tips & Techniques
Which paint brush do I use for various types of paints?
A natural bristle paint brush is made from animal hair, and is very soft and porous. For oil-based paints, most professionals choose a natural China-bristle (hog hair) paint brush.
If you are painting a smooth surface with oil-based paint, a natural White Bristle paint brush is your best choice because it is soft and supple. When painting a textured surface, a natural Black Bristle paint brush will work better, because it is stiffer and has superior abrasion wear. When you require an ultra-fine finish, a brush blended with ox hair is the best choice.
Synthetic filament – When your choice in coatings is water-based (frequently referred to as latex), it is absolutely essential that you select a synthetic filament paint brush. The Purdy synthetic filament range includes:
100% black nylon
100% dyed nylon
Nylon/polyester blend
100% Chinex® filament
Chinex/nylon blend
Chinex/polyester blend
Chinex/nylon/polyester blend
Which paint roller is the best choice for various types of paints?
Most people believe that all paint rollers look and feel similar, but it’s important to keep the following painting tips in mind to achieve professional painting results:
Woven roller cover – Paint rollers that are made of woven material, such as the Purdy White Dove roller cover, are virtually shed-free because they are made out of continuous yarn. Every thread that makes up the face fabric is locked to the back of the fabric. These roller covers are recommended for smooth surfaces such as doors, paneling and smooth walls.
Knitted roller cover – Paint rollers that are made out of knitted material are usually used for rough or semi-rough surfaces, such as rough-cut siding, stucco or textured walls and ceilings. We recommend the Purdy Golden Eagle paint roller. This roller cover contains a high-density material that will hold a lot of paint without dripping.
Selecting the pile (or nap) – The more texture desired, the higher the pile should be. A 1/2-inch plus pile height is ideal for a stippled effect common to most homes. Pile heights on some Purdy textured paint roller covers are as high as 1-1/4 inches, creating an extremely textured effect. Conversely, if you desire a smooth finish in your kitchen, bath or utility room, use low-pile 1/4-inch to 3/8-inch roller covers such as the White Dove and Parrot paint roller covers.
Painting tips for cutting in with Purdy brushes.
“Cutting in” is the art of drawing a straight line, separating two colors using only the paint brush – no masking tape or other aid. You often see it at the edge where a wall color is cut into a different ceiling color. When cutting in, follow these simple rules:
Use a fully loaded brush.
Using the brush parallel to the area to be cut, let the paint brush open up into a semi-oval and bring it into the line you are cutting. Follow the line until the line of paint begins to break up. Repeat. It is best to cut in while breathing out or holding your breath.
Work into the previous area